May 13, 2012

House Before and After: The Den

Calling all lovers of bright, cheery colors! This makeover is for you!!

We use the "formal" living room as our main hang out space. We've got a couch and a loveseat, and that's where we watch TV and too often to talk about occassionally eat our meals. So I wanted to use this room for reading, having girlfriends over to talk and drink some wine, sitting by the fireplace on cold winter evenings, etc. You know... the "chill" space.

Before I show you what we did in the den, let me show you what inspired me.


I think you get the idea :)

The major feature of the den is obviously the brick wall. I happen to love it, but I know some might think it's just too much brick. Here's the room before:


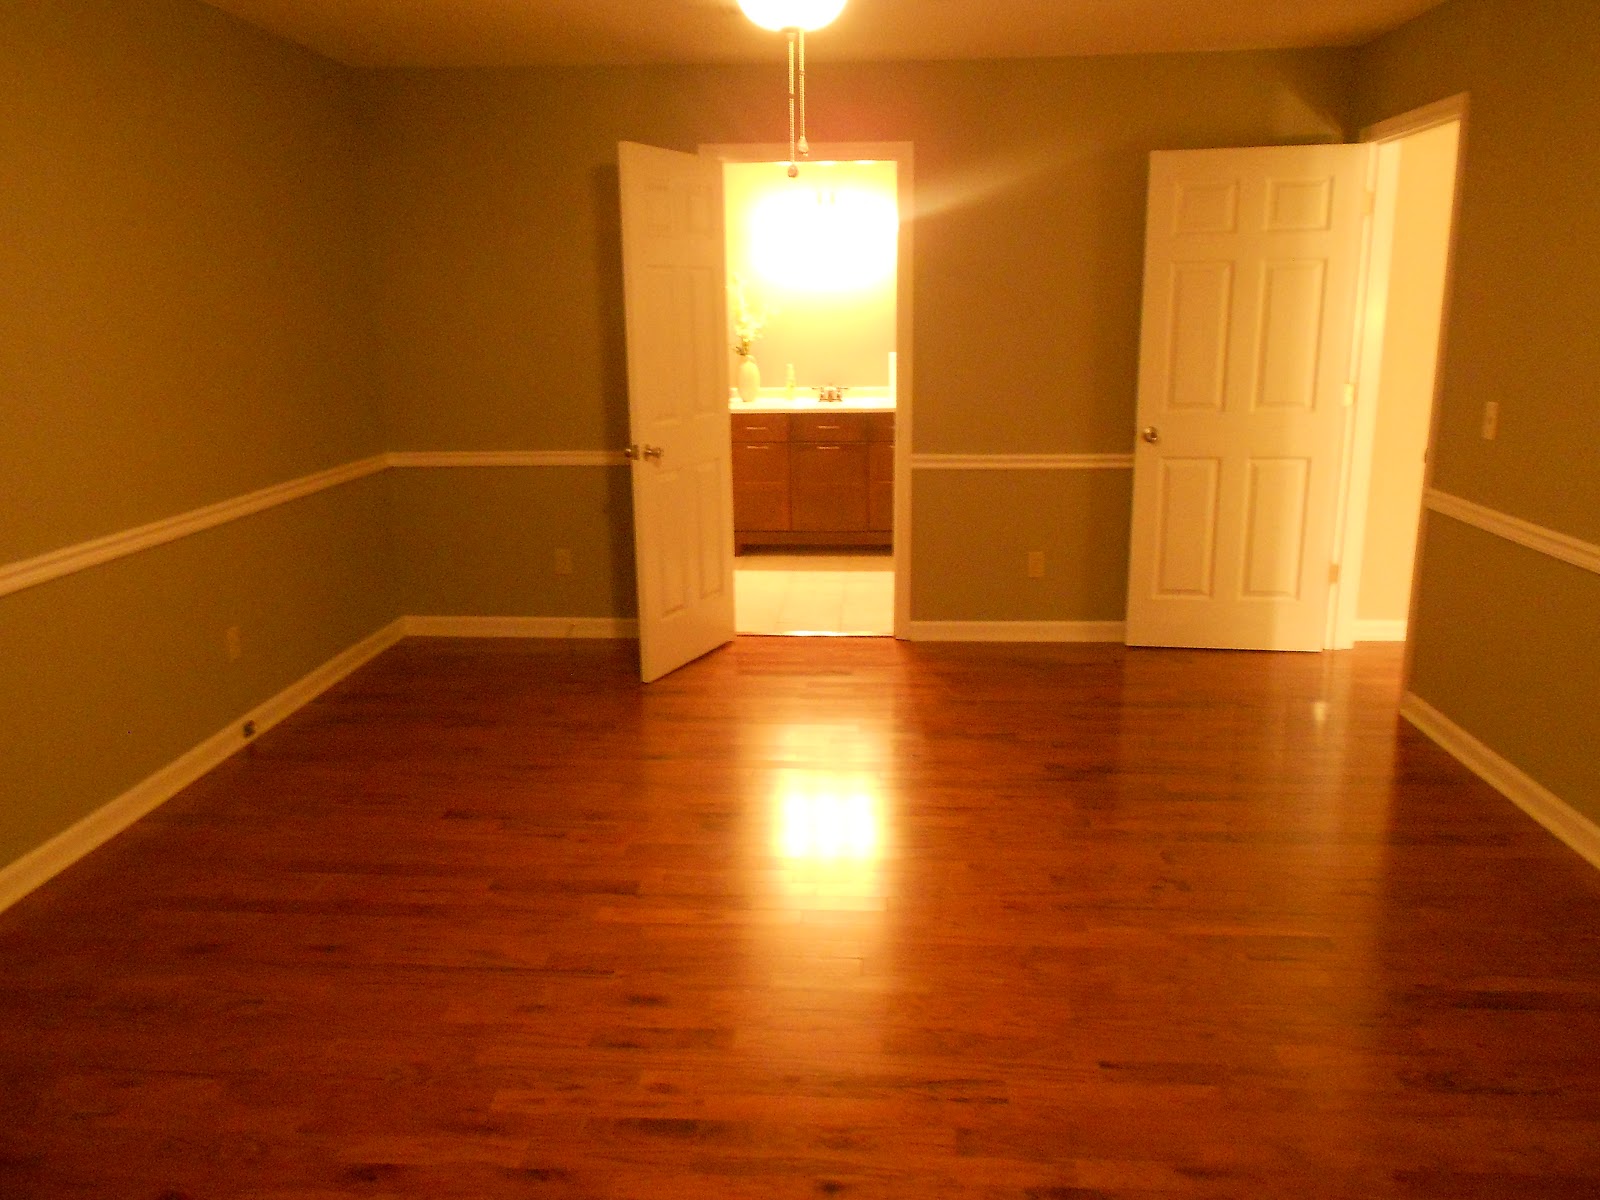
The doors going outside were in terrible shape, so my father-in-law extended the wall and did just one door. I was fine with this because it gave me more wall space for furniture. The floors got replaced with hardwood, and we updated the fireplace with some brushed nickel high temp paint. My goal is to get a rustic, railroad tie-like mantle sometime soon, but I haven't had much luck finding one so far.

As for the wall color, I decided to use the massive brick wall to my advantage. I have heard that one way to choose colors that go really well together is to use colors that are across from each other in a color wheel.


So... brick (oranges, reds, browns) would look GREAT with blue!

AQUA BLUE!!


Now, I still have more work to do in here. I need to get some stuff up on the walls, find the mantle I keep imaging in my head, get some table/floor lamps, and work out the table situation. (Adam and I can't agree on a coffee table, and the small side table is a temporary solution.)

Nonetheless, here's our cheery den in all of its glory!


Now for some detail shots...


So there it is! My aqua blue den! I pretty much love it. Not sure that the hubby is sold, but he's a good sport. As long as it's comfortable I'm not so sure he cares. haha. Some info for those who care:

  • couch, chairs, and "script" pillows are from D. M. Stacy Furniture
  • my father-in-law made the large mirror and the bookcase (we are SO lucky to have him!)
  • Wyatt pillow and hydrangea pillow were etsy finds
  • rug is from Overstock
  • the brown and cream floral pillow, wood side table, wooden balls, and antique fabric were all yard sale finds. The blue bowl was a gift from my friend, Brenda :)
  • the apothecary jars by the fire place were scored when my local Kirkland's store was closing
  • art temporarily sitting on top of the fireplace and the blue magazine rack were made by your's truly!
And one last picture... I love that when you first walk in our front door all you seen in this space is the brick wall, so the aqua is a surprise!

This was taken pre-furniture, but you get the idea :)


May 12, 2012

House Before and After: Master Bathroom

Before I go into the changes that happened over at the new house in the master bathroom, I need to remind you what kind of "master" bathroom we were dealing with at our last house. Now, keep in mind that we added tile in here several months before putting our house on the market, so that was a definite improvement, but overall the issue was just lack of space. The room was small, the vanity and counter top space was small, the shower felt small, and there were just no more storage options.


Do I miss that place?

No.


On to the new master bathroom! This house was built in the late 70's, and it appears that a trend at the time was having the bathroom vanity IN the bedroom, kind of hotel-style. I've looked at the real estate listings for other houses in this neighborhood, and several of them have this style bathroom. Here's a picture my mother-in-law took before any of the renovations began:


I know you're digging the red bathroom and red master bedroom in the back.

Sorry, it's gone!


The door to the left of the vanity is one of the master bedroom's walk-in closets. (Yes, I said ONE of them. We're so lucky to have one for each of us!) The door to the right led to the toilet and shower area. Wait until you see this gorgeous shower they had in there...


Ew, right? Just looking at this pictures gives me the eebies jeebies.


So, in came our amazing home magicians! The opening in the wall that led to the vanity was closed in and a door was added. Goodbye hotel room! Then, the wall/door that separated the vanity from the toilet and shower was taken down. It was amazing how this opened up the space. The master bathroom actually feels like a master bathroom now and we're loving not feeling cramped in there.


Ready for some pictures?

This picture is from right before we moved in, so we hadn't got furniture in the master bedroom yet, nor had we found a mirror for the bathroom. But doesn't it look so much better now that the bathroom is closed off?? And an added bonus is the lack of blood red paint...


Fast forward to today...


Adam's dad could have set the piping up to have two sinks, but it was more important to us to have more counter top space. We don't regret this decision. We generally don't find ourselves using the sink at the same time. The vanity is from the same series as our half bathroom vanity. Didn't realize it until they were both installed! The handles on this vanity were brushed nickel, which didn't go with our faucet or lighting, so we just spray painted them. No problem there!


There's Adam's closet!

Moving on to the other side of the room...


A close-up of what's on the wall:


I had several people (ladies) that came to our housewarming party ask where the shower curtain came from. I got it at Marshalls. I never intended on keeping it in this bathroom. It was a temporary solution when we first moved in, but now I like it! It gives me a lot of colors to work with and it matches our wall paint great.

And PS- If you haven't already, please switch your standard shower curtain rod to a curved one. It is amazing how much extra room you'll get in the shower! Trust me on this one!


Behind the curtain:


This room is pretty much done. You may be concerned by the lack of curtains, but where that window is located it's almost impossible for anyone to get a glimpse of anything inappropriate. haha. I may just do sometime on top for color/interest.

Thanks for stopping by! Hope your weekend is off to a great start, friends!

Masterpiece Monday
Strut Your Stuff Saturday


May 8, 2012

Terrariums... new obsession alert!

I blame you, Nester!!

The always fabulous Nester was talking terrariums a while back, and it sort of made me obsessed. Like, I've seen them before, especially since Pinterest became the greatest thing since sliced bread, but I never realized how awesome they are until now! They are a great way to add a little life to your home without needing a lot of maintenance.

Just take a look at some of these beauties I found online:


Pretty please go look at the source from that last picture. Twig's terrariums are amazing! The one above has a sweet little couple inside- on their wedding day! So cute.


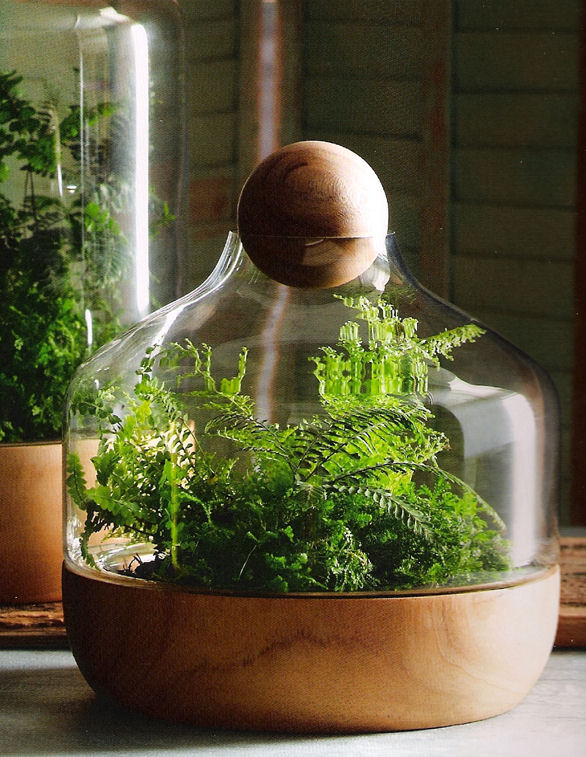
PS, just in case you didn't know... terrariums are expensive!! (That last one is $300!)  So, it's definitely something I'm going to try to tackle on my own. I've done some reading on the process, and it seems simple and allows for a lot of creativity. I was thinking about going to the thrift store to find a unique container when I remembered I had these little lovelies in my trunk:

Perfect, right??


The Kirkland's store close to me closed, and before they did they had a huge clearance. These apothecary jars were originally a set of three, but since one was missing, I got the set of two for $5.00. It wasn't until I opened the box that I saw that there wasn't a topper that fit the larger jar, so I can just leave that one open (which works out because some terrarium plants do better in an open container).

So excited for a new project!

...that is after I finish all the others that are on my to-do list...

May 6, 2012

House Before and After: Guest Bathroom

Hope everyone is finishing up a wonderful weekend. We had our housewarming party last night, and it was a lot of fun. I'm so thankful to finally have space to have friends and family over without feeling super cramped.

On to the next room reveal! I don't really have a lot to say about this one other than letting you know that the guest bathroom was REALLY, VERY, UTTERLY disgusting. And ugly. And it needed help ASAP. Here's the vanity area before:


And AFTER! My goal was to make this room just feel clean and relaxing for our guests.


For anyone who might be interested... the vanity and top came from Lowe's, the lighting is from Home Dept (I think...) and the mirror is from Southeastern Salvage. And yeah... we replaced the toilet.

We replaced ALL the toilets :)

More views:


The shower/tub area was just really awful. The tile was grayish purple and pink. And the tub was really stained.


AFTER, praise the Lord!


It's sort of hard to tell, but the mosaic tile has shades of blue, gray, cream, brown, and green. Mostly blue-ish gray tones, though.


This next pictures shows our unconventional shower curtain rod situation. We like using curved bars because it adds a lot of room to the shower space, but once we installed it, we though it looked kind of weird having about a foot of tile sticking out past the curtain. So we installed a straight bar for the actual shower curtain so it lines up with the edge of the tile, and the curved bar holds the shower curtain liner. Not sure if any of that makes sense... so just come visit us and we'll explain. haha


So, yeah, I'm happy with how this room turned out. Just need to get some art or something up on the walls to balance out all the white and blue. But before I go, I have to share my favorite detail in this bathroom... ;)


May 1, 2012

What I Sent My Package Pal!

I participated in April's Package Pals, a fun little spin on pen pals that Jamie over at C.R.A.F.T came up with. Bascially a bunch of crafty gals get paired up with other crafty gals and we send each other packages of crafty goodness! I got paired up with Kari at Newlyweds on a Budget, and am glad I was! Kari is a sweet girl with a great blog! I totally love seeing how she stretches her budget to make her house a home. And speaking of home, congrats to her and her hubby on just buying their first house. Oh.So.Excting. Not to mention they have an anniversary coming up! Should be an exciting month!

So here's what I sent Kari. This resulted from a combination of using what I had (and could find, since the guest/craft room is a total disaster right now) AND trying to send things that went along with her personality/interests.


Since she and her hubby are about to move into a new house, surely she'll get some great housewarming gifts, so she'll need some thank you cards, right?? I jazzed up a few of them with some fabric flowers and buttons.


Please excusde the sideways picture. My computer is on crack and won't let me flip it!! I had made this little felt owl a while back, but never put him on anything. So now Kari gets him! I put him on a little tote bag I got at Hobby Lobby. Good bag for her to take stuff to/from work or for books. Speaking of books...


Kari's kind of a book freak, so I thought she might like some cute bookmarks. I got the idea here. I originally made three, but the cats got the blue one. Oops...


She mentioned that she was considering doing a nautical-type look in her master bedroom, so I wrapped up some candles with rope and threw in the extra rope. These aren't too theme-y, so if she changes her mind, she can always use these in another space.


Finally, some easy extras: shells (for the nautical room) and some letter stickers (because you can never have enough of those, right?).


This was fun, and although it came at a time when life was really busy, it was a nice distraction. And who doesn't love getting non-bill, non-junk, non-important mail?

Hope you enjoy, Kari!

April 27, 2012

Why it's good to dig at the Goodwill Outlet

(Ever start a post months and months ago and then life happens...and it never gets posted?? Is that just me??)

Anybody have a Goodwill Outlet near them? I don't have one close, but it's always one of my first stops when I go visit my friend Caitie in Asheville, NC. It's not an experience for the faint of heart, but it's amazing what you can get when they charge by the pound! You can stock up on some serious clothes that way, trust me :)

The last time I was in the Goodwill Outlet digging through the piles of nastiness, I saw something sticking out from under the rubble. It had my name written all over it. Here it is after a quick wipe-down back at Caitie's place:


These ornate frames are all over the internet, and are especially popular lately when painted a bold color. Examples:


I toyed around with the idea of using a bright color, but I decided to stick with something that I could use in various rooms as I got bored with it. I also decided that in order to use it in multiple ways, I would leave the mirror untouched and doctor up the opposite side of the glass with... chalkboard paint! The frame got painted months ago and it sat in our garage until we moved to the new house. And then it sat in one of the spare bedrooms :) If it makes you feel better, the frame did get used once in the meantime at a friend's daughter's tea party-themed birthday shindig. She set up a photo booth for the kids, and the frame got used as a prop. It was very cute. 

I finally got around to applying the chalkboard paint a few days ago, and when I found the perfect little table at my favorite antique store for our enry way, I knew that the chalkboard would have a new home, finally! Please excuse the crummy picture from my phone. I never can find my camera battery charger when I need it. Plus, the space looks very monochromatic, but it's not really. Plus, I'll add some pops of color soon, this was just for photo purposes :)


I think it will be a great place to write reminders, scriptures, lovey dovey notes to my hubby, dinner menu when we have people over, or welcome notes to guests. This was my kind of project: cheap and easy!!

PS- Exciting news! My kitchen makeover is being featured at one of my favorite blogs, Better After! Lindsey always shares the coolest transformations, and I'm honored to be included!

April 18, 2012

I love lamp.

Can I get a collective shout of excitement that yard sale season is finally here??


Is there anything more fun than getting up on a Saturday morning and looking through junk to find treasures at amazing prices? Not in my book. And when you bring along a dear friend for a morning of shopping and laughing, it's just what I need after a long week at work.

This past Saturday was my first morning of yard sales of the spring, and over all it was pretty disappointing. (I had great company, though! Had fun, Brenda!!) There were lots of neighborhood sales which usually means a lot of stuff to look through, but each neighborhood only had a few houses participate. Most of it was junk. But that's how it goes. Some days are awful and some days you just keep finding awesome stuff.  I'll keep my fingers crossed that this weekend will be more fruitful :)

There was only one house that had something we wanted, and it was the first house we stopped at. I spotted this pair of u-g-l-y brass lamps, and for a price of $5.00 I knew I could jazz them up to work in our house. The shape was good, size was good, just needed a bit of updating! So here's what I did to make a great new lamp for our navy/white/gray living room...

Here's one of the lamps in its original brass-nastiness :)


After a quick sanding...


My original plan was to do either stripes in navy and white or some kind of design in the same colors, so I did a quick coat of white paint/primer. After some thought, I realized that the lamp needed to be a solid color so as to not compete with all the other patterns I have going on in the living room.

Yay! It's blue!

Just a little clear top coat, some drying time, and a cheap drum shade from Target and we know have a super cool lamp that I love!!


This was a simple, fun project to occupy my time this weekend and it definitely makes a great impact in our living room (I hope to reveal the room soon!). 


Thrifty Treasures
Tuesday Talent Show
Craft and Tell
What I Whipped Up Wednesday
Wow Us Wednesday
What's It Wednesday
Frugal Friday
Delicately Constructed Friday
The DIY Talent Parade
Making Monday Marvelous
Strut Your Stuff Saturday